Category Archives: Lee Safar Album

DIY Anodizing

Hi there!

To finally round off a good solid month or two of building audio electronics studio stuff for the album ( in this case some gorgeous pre-amplifiers for recording vocals ), I decided, just before handing over the final product to Lee Safar, to try my hand at DIY Anodizing….

So it was off to the wonderful Sydney Hackerspace ( Robots and Dinosaurs ), to get some help.  Macca, an already competent Anodizer ( 😉 ) gave me a hand understanding the process.

First we mixed the active ingredient ( an acid ) with demineralized water, sitting inside of a PVC tube that contained a cathode ( a piece of aluminium ), and then the anode ( the front panel of the pre-amplifiers itself ) was connected to complete the circuit through a constant-current 2.5Amp power supply.

We let this do it’s anodize thing for an hour, then immersed it in a very string mix of red clothes die and more water ( this time regular, but warm, tap water ).

From there, around another hour later, it was straight into a boiling water bath for around 10minutes, to fix the die within the molecular structure of the metal, and then BOOM, you go a red piece of aluminium….!

So enough nerd speak, here are some crazy-cool images of the final result – a DIY “red”(ish) coloured set of pre-amplifiers:

ClassicAPI VP26 and Sound Skulptor MP73 Preamps are finished!

Well, what a project!

For those who haven’t been following my progress lately, I built ClassicAPI VP26 and Sound Skulptor MP73 microphone pre-amplifiers ( pre-amps ) to use on the album I am currently producing for Lee Safar.

Whilst the pre-amps themselves were fully self-contained kits, the processing of putting them into a 1u rack case, along with some of my own customizations, was a much more time-consuming and complex project than I originally expected.

I am happy to say that as I type this, they are completely working and racked up beautifully in a case I cut with my own hands ( no CNC machines were used this time, just a good old drill press and a bunch of manual labour! ).  The next time I undertake such a project, I think that I’ll be relying more on automation, but I wanted to get my hands dirty this time.

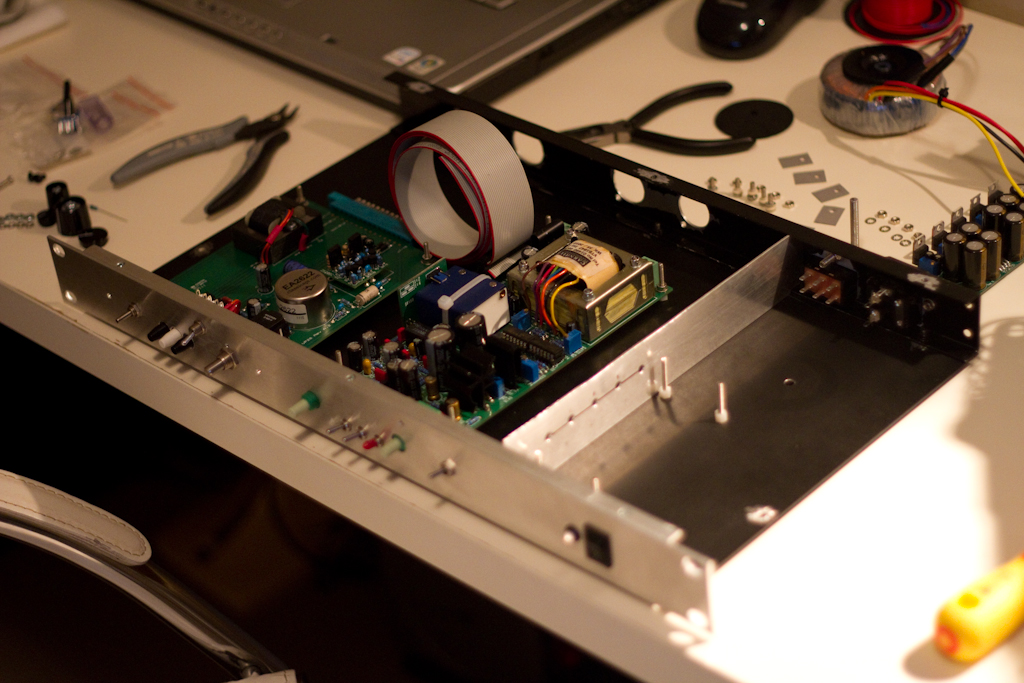
Picking up from my last pre-amp post, I rounded up the last part of the build by assembling everything roughly, and running through the MP73 calibration procedure for a few hours, running a bunch of test tones to and from the unit, and calibrating things like the clipping LEDs etc.

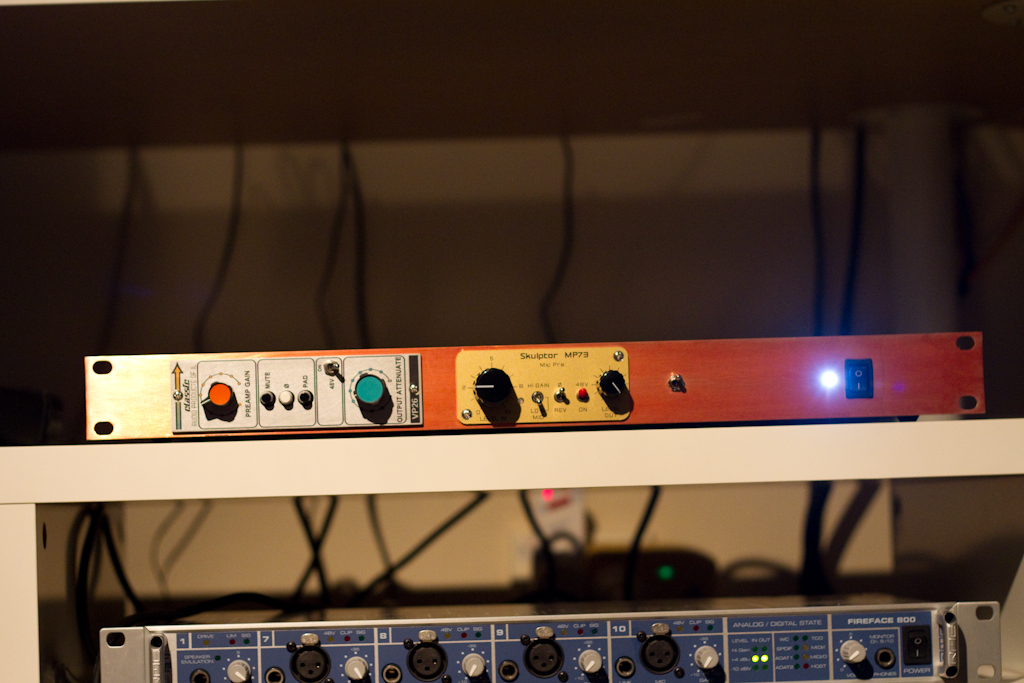
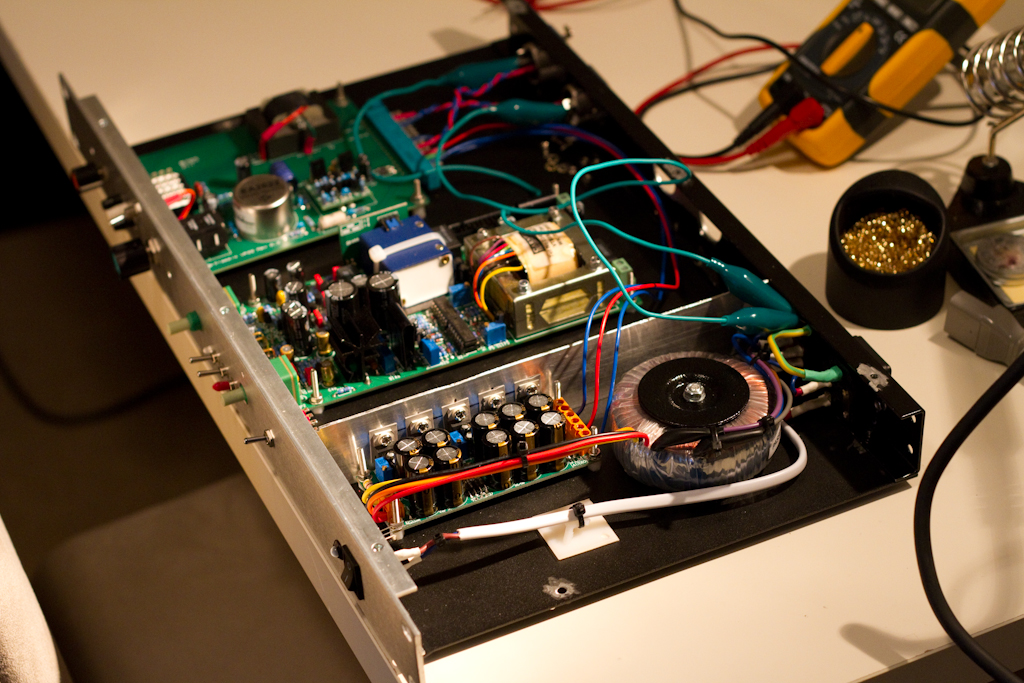
At that point in time, the whole thing looked a little like this:

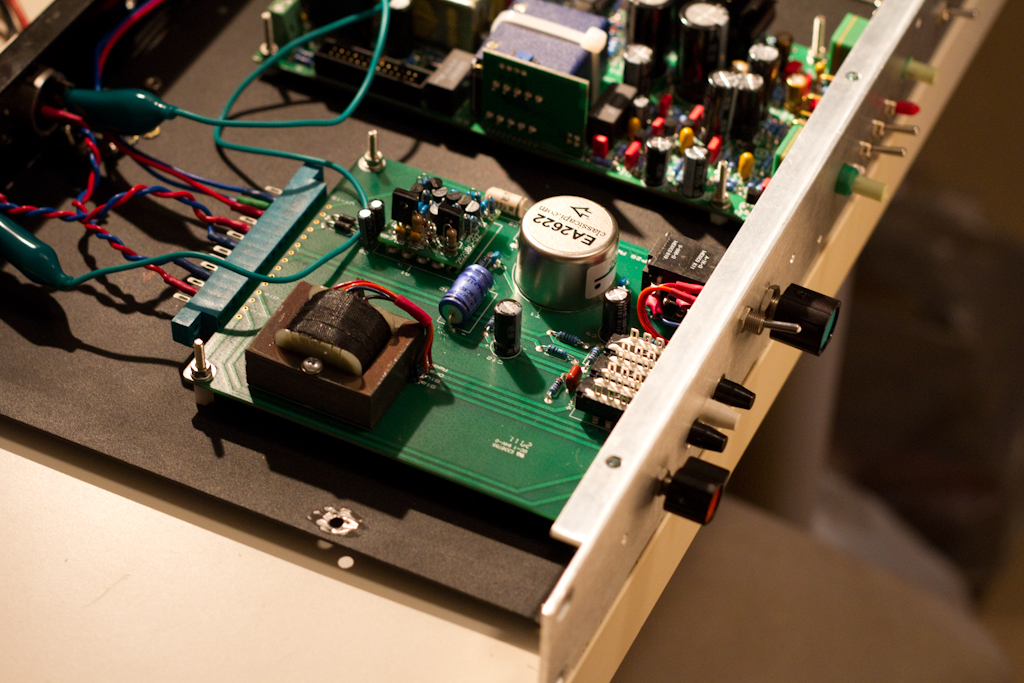
Here you can see the test tones are being fed in to the MP73:

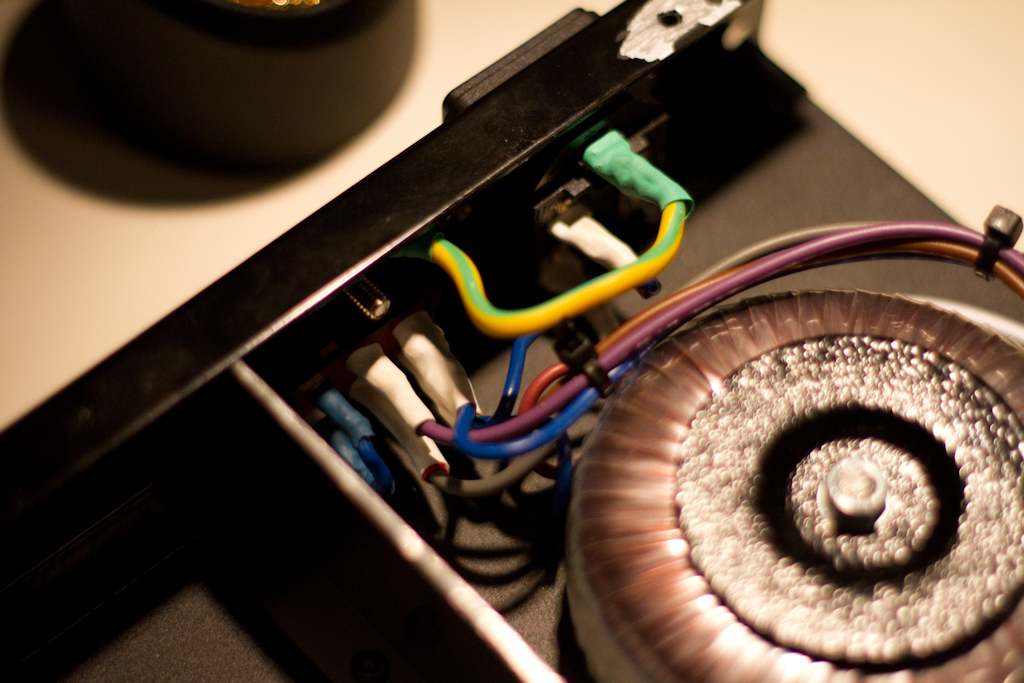
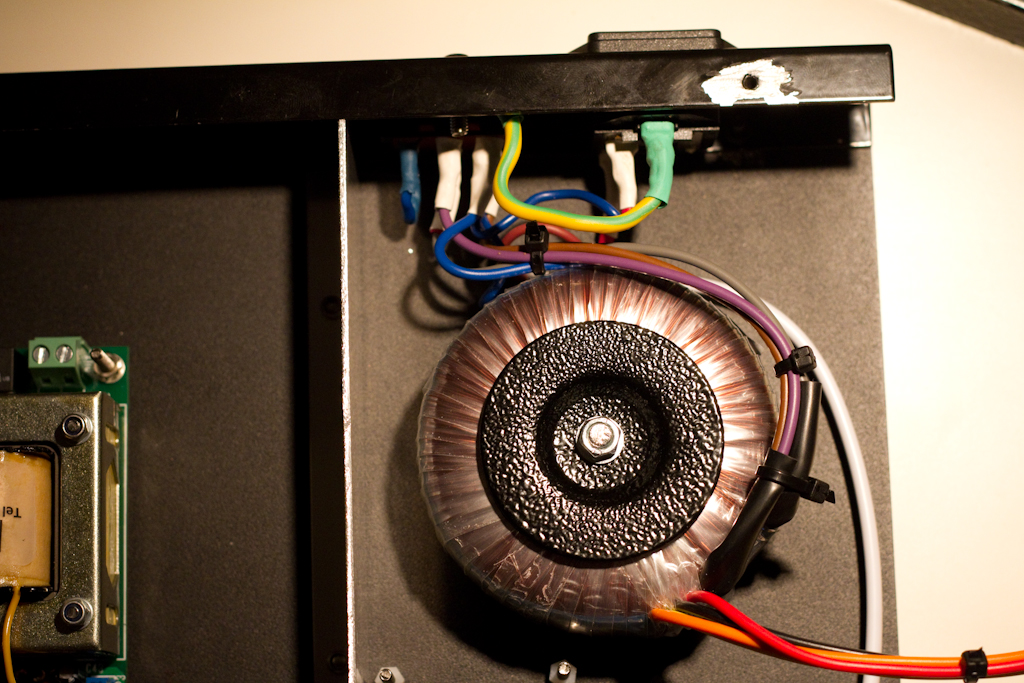
Since the MP73 is designed for a custom Sound Skulptor case, I had to improvise on some of the wiring:

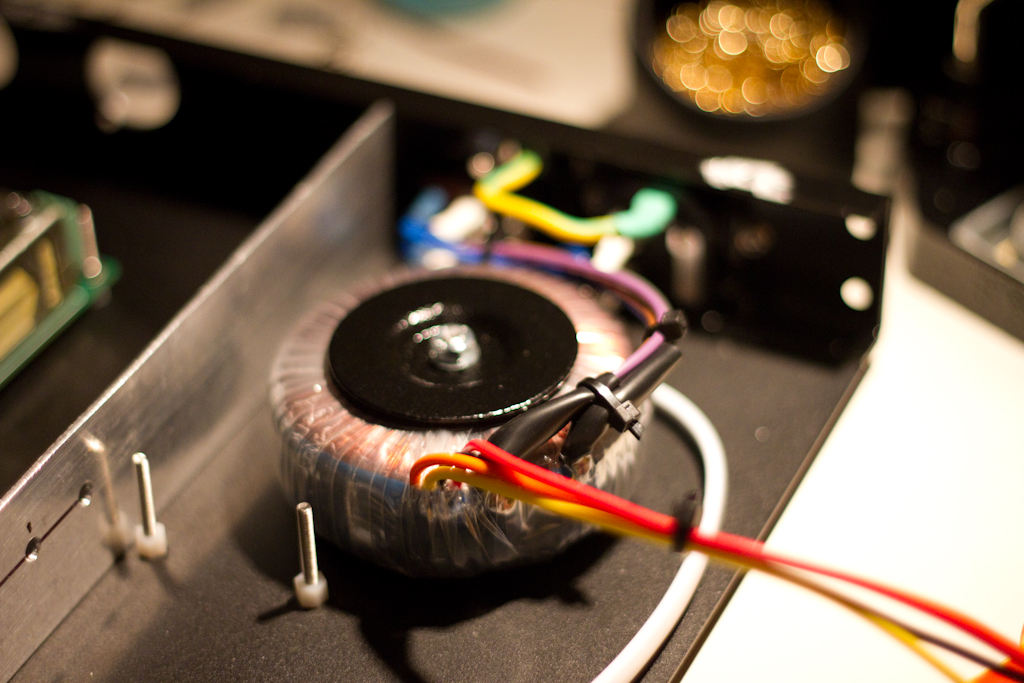
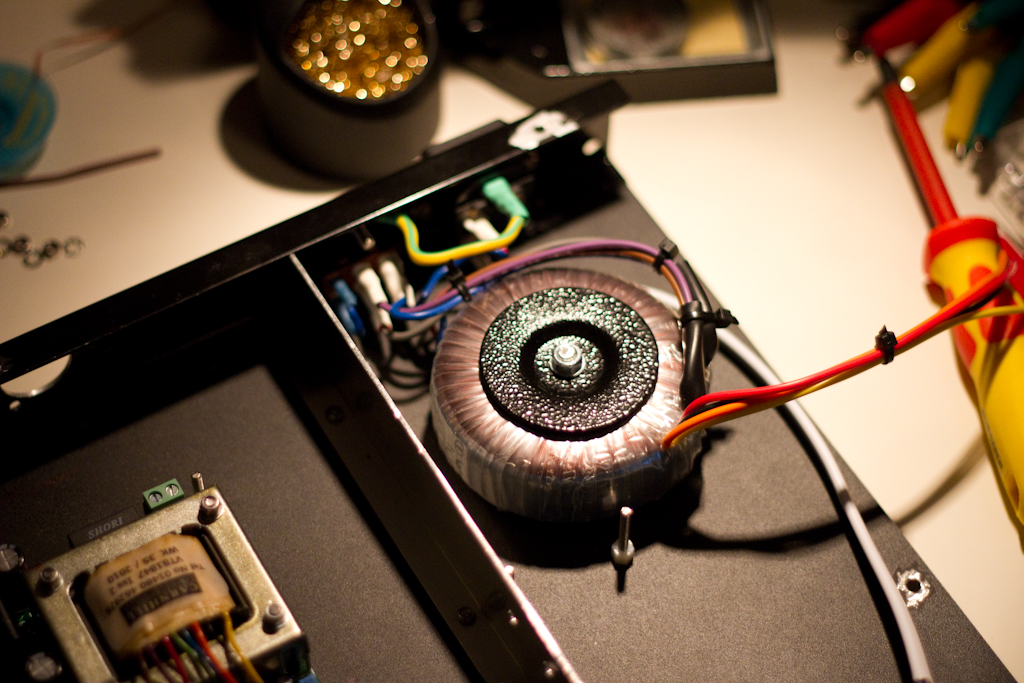
I also had to ensure that the VP26 kept working with the MP73 running simultaneously, since the JLM Audio Powerstation power supply I used was providing all of the various voltages I needed:

Here was the first image I took of the clip lights on the MP73 operating correctly.  That was an exciting time!

From that point, all that was remaining was the hefty final wiring, which included an extremely cool customization feature that I added for the specific purpose of being able to get a bunch of different tones for the recordings we are going to do of Lee’s vocal.
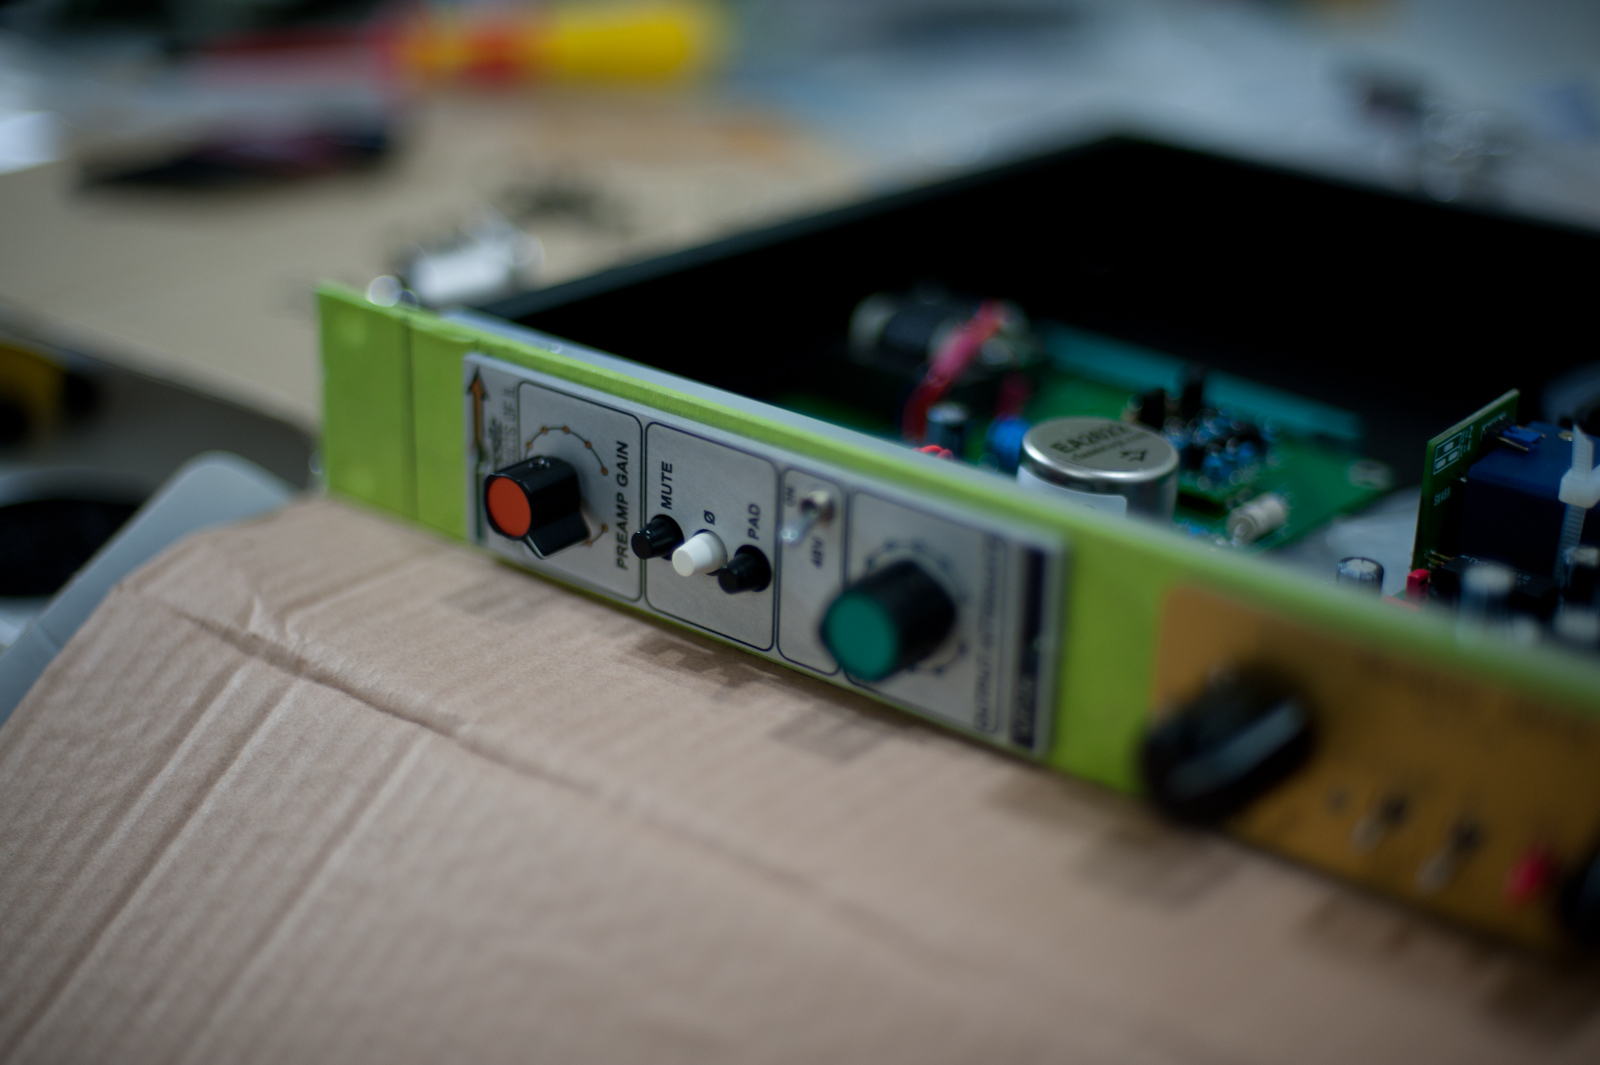


The Customizations:

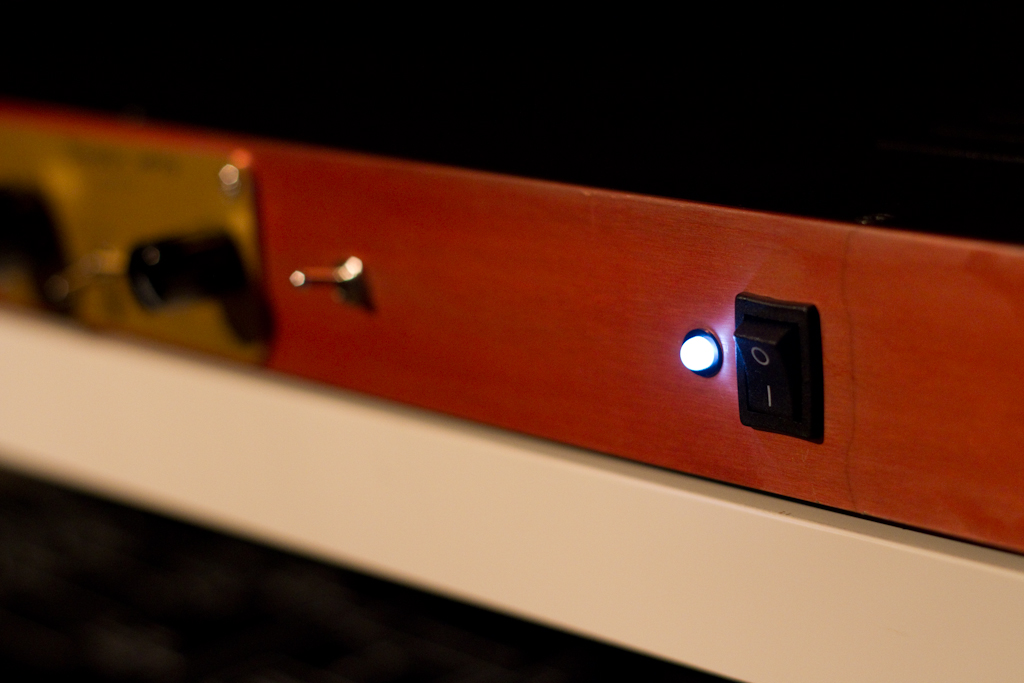
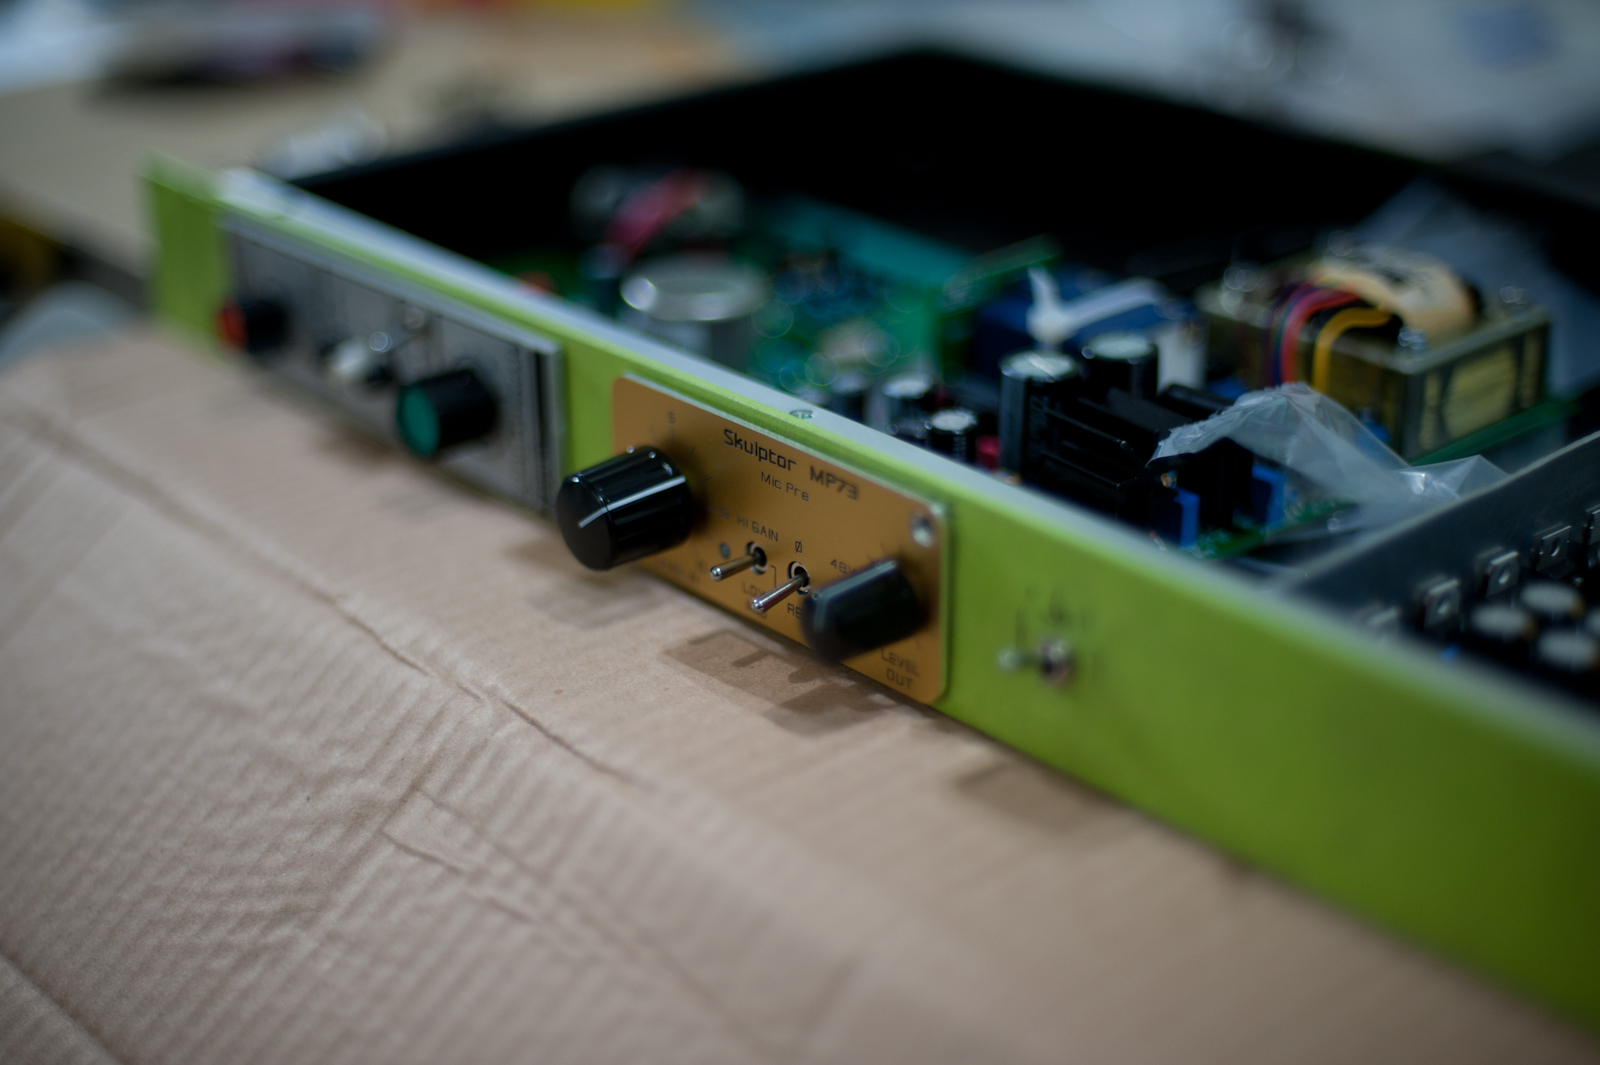
Basically, you can see here, an unlabelled little switch just to the right of screen:

When it’s sitting “up”, which is the “off” position – it has no effect.  but when you flick it down to the “on” position, it does something pretty cool.  It turns on a relay that bridges the two inputs ( if we label the VP26 circuit as pre-amp A, and the Sound Skulptor MP73 as pre-amp B ) so that the inputs for A and B are connected.  This means that with the switch down, plugging a single microphone into input A, drives BOTH the preamps A & B, and produces distinct, isolated outputs from both the A & B channels.

This is an intentional cost-cutting feature, designed because we decided not to buy two microphones.  Instead, I wired in this bridging mechanism, allowing us to get the phase-accurate sound of BOTH the API and Neve-style pre-amplifiers at the same time, from one source.

This allows us to then record the two different flavors of sound to the Left and Right inputs of a standard sound-card.  Cool huh? 😉


The second customization again relates to the bridging swtich, but allows you to still safely use phantom power.  With the bridging switch in the “off” position, channels A and B have separately controlled independent phantom power switches.  However, with the bridging switch “on”, the phantom power is disconnected from the B channel, and instead, the phantom power from channel A is used only.  Since the inputs are bridged, this just means that you get the correct phantom power, controlled by channel A’s phantom power switch, without the hassle of having to worry about the current setting of channel B’s phantom power switch.

It’s basically just a safety feature that allows phantom powered microphones to be used in the bridging confuguration.

I can’t WAIT to use this feature and be able to blend two independent colours of Lee’s voice together to find the right tone.
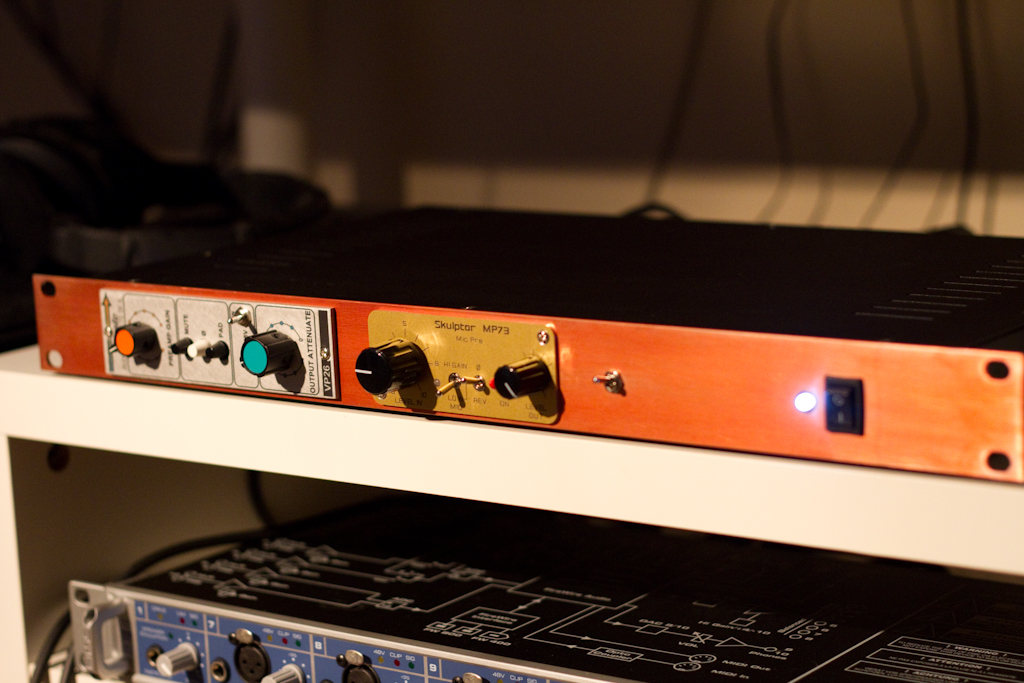
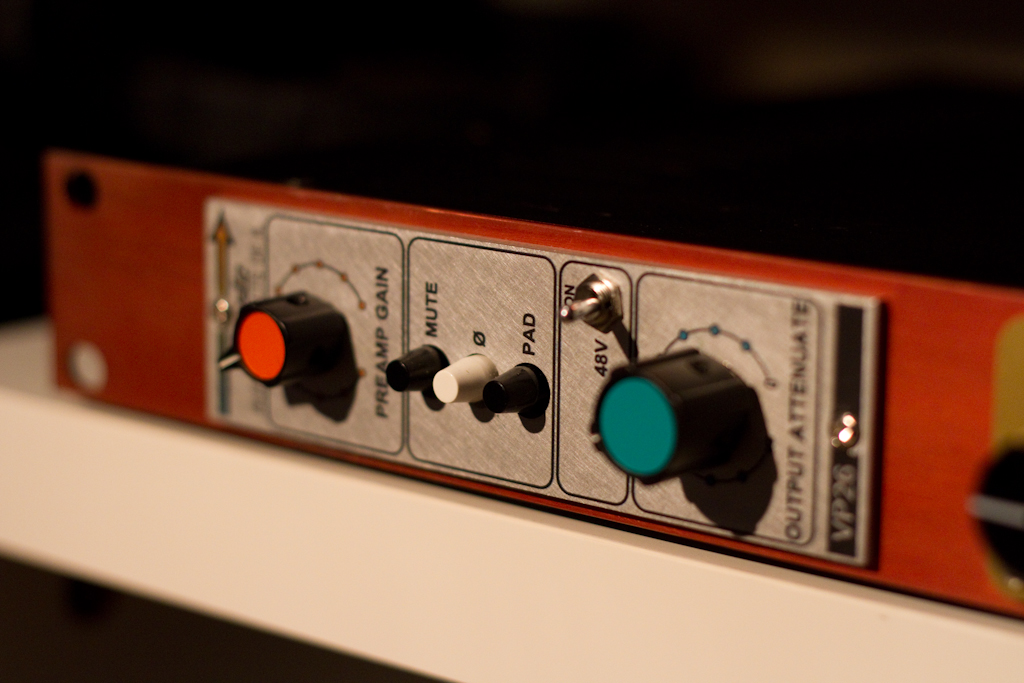


The Final Images:

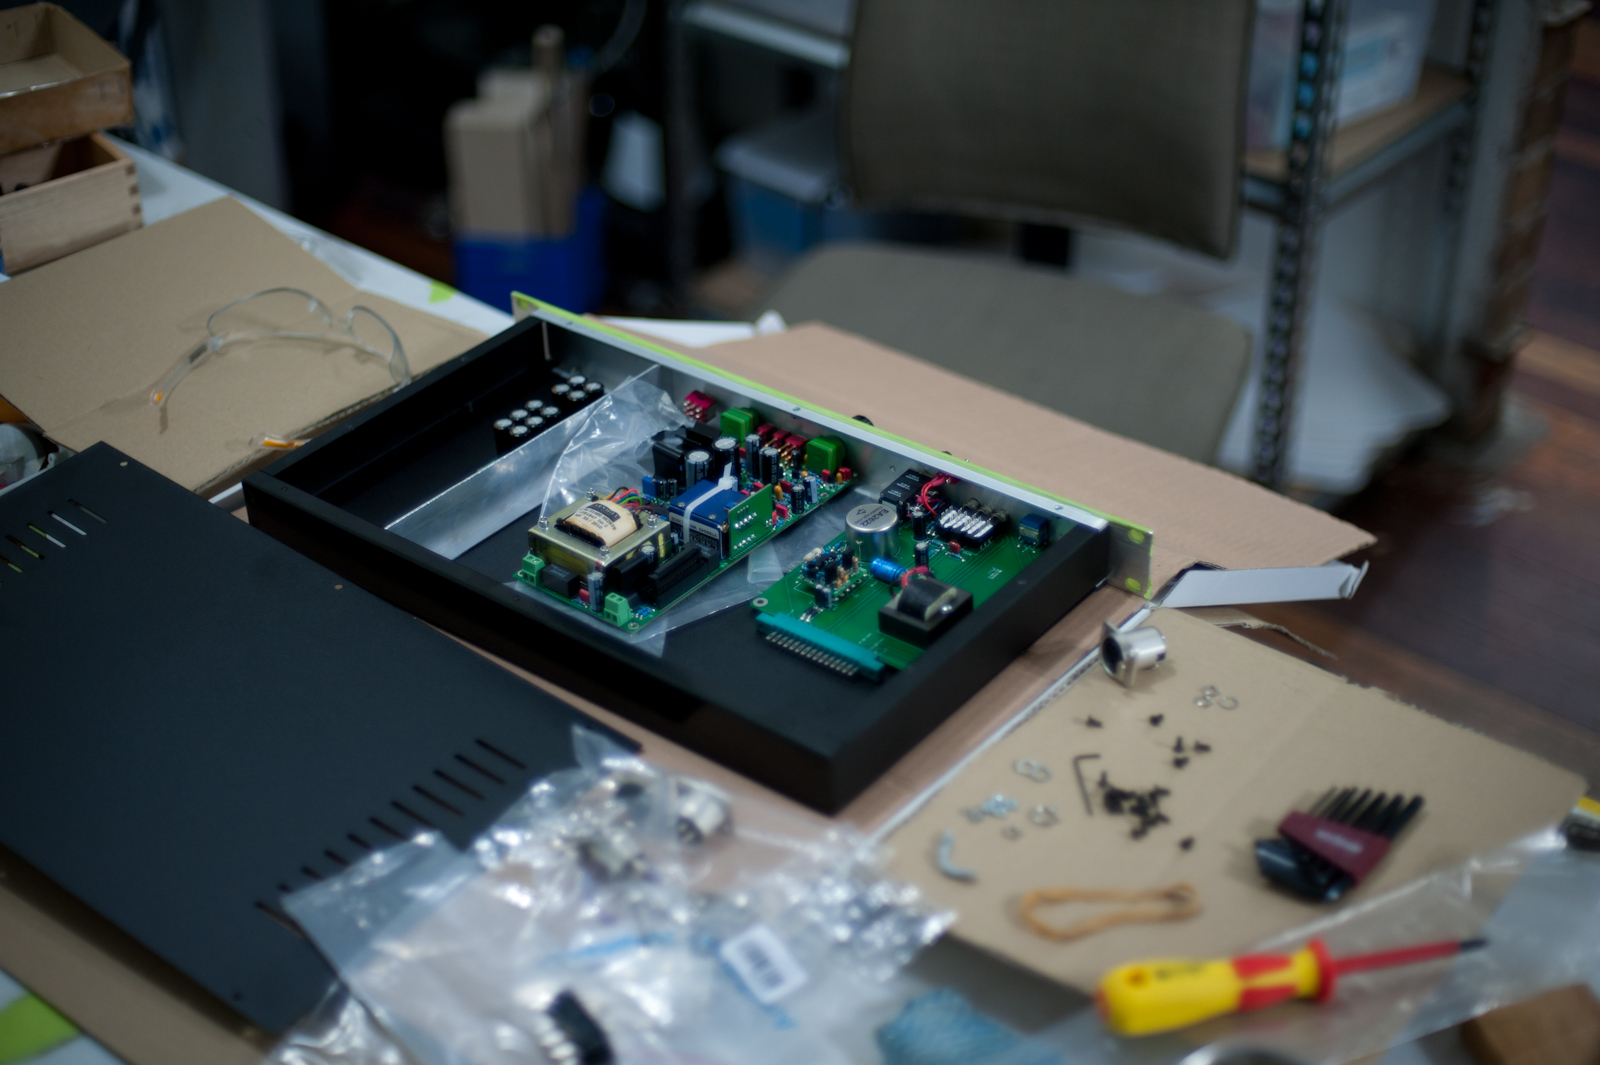
Here it is, completely finished, but with the lid off:

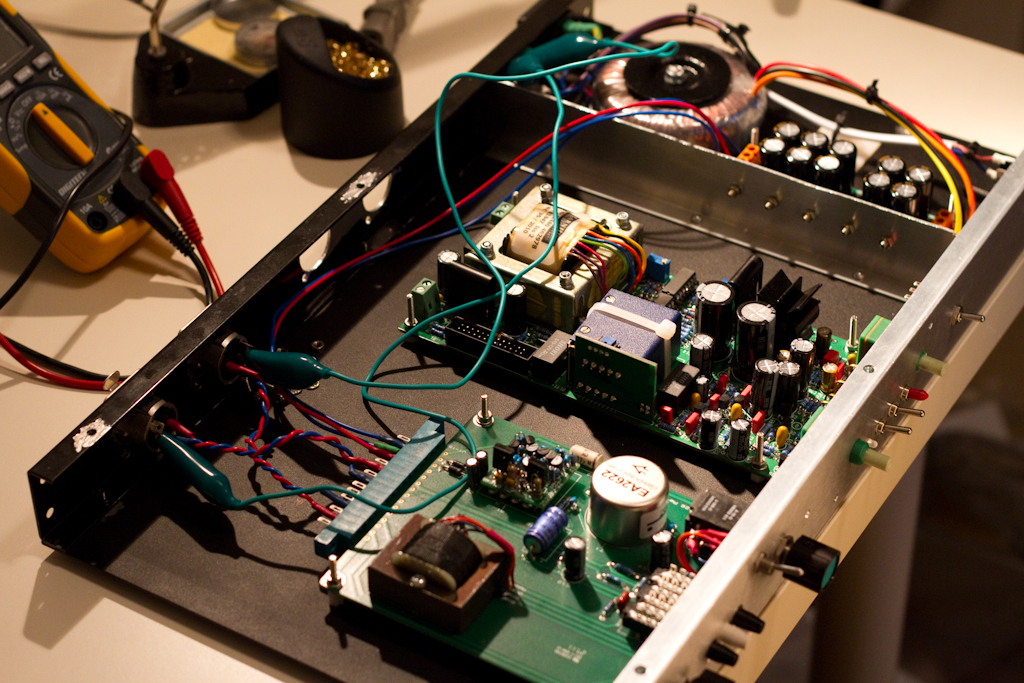
And here are the carefully wired internals:

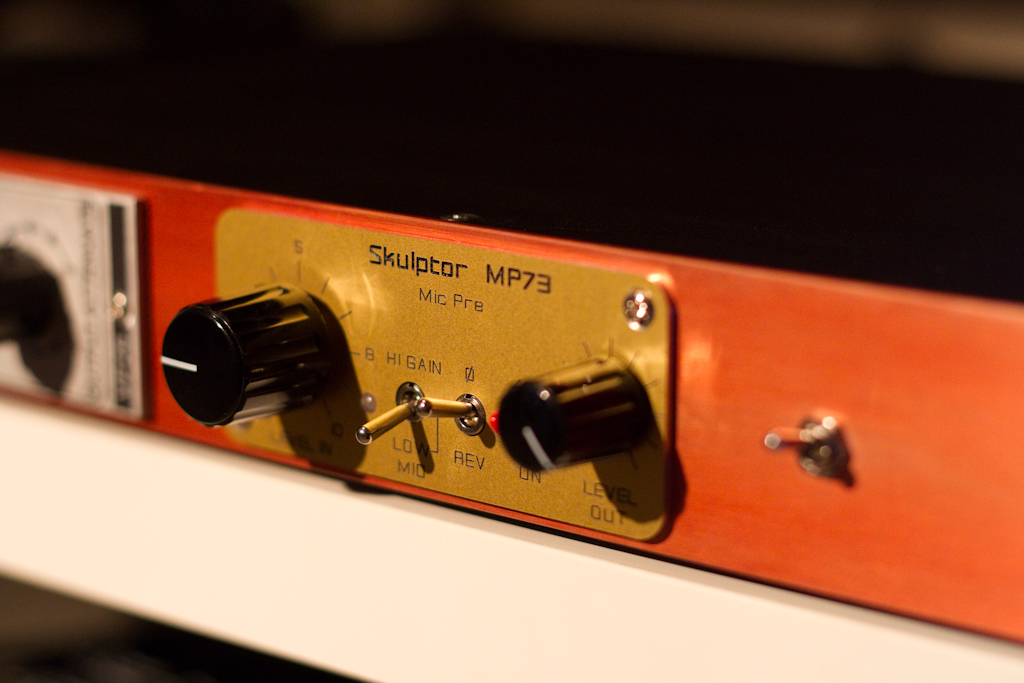
Followed by some close-ups, that show some of the features I’ve discussed:

Here you can see the relay driving the bridging input configuration.  It sits right near the inputs to keep the length of cables as small as possible.  I didn’t want to run audio cable all the way from the rear inputs, to the front switch, and then back again, so this was a good alternative solution:

And here are the rest of the internal pics:

Since Lee needs to take this back to LA with her, I’ve included the ability to switch between 120V and 240V input power:

Looking good!

And here it is, trying out a rack space for size, alongside my previous build, an SB4000 SSL-style Bus Compressor ( thanks ruckus! ):


For any details about this, please let me know and I’ll give you whatever information I can.

It was a really fun and challenging project and I can’t wait for Lee to arrive in Australia to start recording the vocals for her album through these.

Sound samples coming soon….

ClassicAPI VP26 Built and tested

Hi there!

For those following my studio exploits I’ve been 1u racking ClassicAPI VP26 and Sound Skulptor MP73 preamplifiers in a custom drilled and layed-out case.  A big thanks to the Robots and Dinosaurs Sydney hackerspace for the use of their equipment.

Two days ago I tested the VP26 ( successfully I might add – it worked first time! 😉 ).

Here are the shots of the resulting installation of the VP26 board into the 1u rack case, and also some of the PSU wiring.  You should also be able to make out some “more complex than usual” wiring around the rear panel near the transformer.  That’s due to the fact I’ve wired this box to support 240V and 120V inputs, to make it compatible with most countries in the world ( it will be traveling regularly between LA and Sydney for the album I’m currently producing ).

I used a JLM Audio Powerstation power supply to derive the 0V, +16V, -16V, +24V, -24V and +48V rails required to run both of these pres in the same space ( including Phantom Power ).

The VP26 is visible as it was wired for the sound test in the last image.  Next up ( hopefully tonight ) will come the MP73 final wiring and testing.

enjoy:

I’m Here ( Remix ) – featuring Lee Safar – teaser 2

Hi there!

Here it is – the second, and 90 second taste, of the evolutionary theory ( that’s me! ) Remix of Lee Safar‘s online hit “I’m Here“…

This is just another slight less-tiny glimpse though, so if you want to hear more before the official release on August 31st – like it, comment it and share it. Make some noise and you never know, it might help convince us to reveal a little more….


http://soundcloud.com/evolutionarytheory/evolutionary-theory-im-here-1


evolutionary theory and Lee Safar

Released by: The House of Jote
Release date: Aug 31, 2011

Boxing an MP73 and a VP26 – Part 1

Well, it’s been some time since I’ve used a drill press…. Probably year 10 at school, which was some time ago now….  However, harking back to my days of old, I managed to get some pretty good results.

Those who have been keeping up to date on this blog will know I just finished soldering together Sound Skulptor MP73 and ClassicAPI VP26 preamp kits.  This post is about how I’ve been able to successfully fit them into a 1u rack case.

I got the rack case from Altronics in Sydney: http://www.altronics.com.au/index.asp?area=item&id=H5011

Working at the wonderful Robots and Dinosaurs Hackerspace in Sydney, the first step suggested to me by my mate talsit, was to put tape ( it’s green! ) across the front of the aluminum panel.  This was so that if(/when) I slipped, I wouldn’t need to shed a tear, as underneath it would be protected.

With previously acquired Ninja hack-sawing skills ( and a really cool hacksaw he had ), talsit helped by cutting to size an Aluminium L-panel that I found at Bunnings to fit as a divider and as shielding protection between the power-supply and sensitive pre-amps, along with helping to mod the case slightly to allow room for the preamp front panels ( which involved some brutal tearing out of screw-flanges with a large pair of pliers – kind of like going to an Aluminium dentist…. )

Next I took the two front panels and laid them to the left middle of the panel.  This was to make room for the power supply that’s to sit to the right of the case, along with a linked/independent toggle for running the pres both from input A, or independently from A and B ( it basically will bridge input A to preamps A and B so that one source can run separately through both preamps ).

I then proceeding to mark with pen all of the holes.  From there I used a digital caliper to measure each and every hole interior diameter.  Unfortunately the Hackerspace did’t have the extremely strange drill sizes I needed – but this was very much a blessing in disguise.  Since I had to mark the centers of all the holes by eye, I knew I’d be out all over the place with sizes.  So I rounded up to the nearest bigger size.  This allowed me to have the play across the whole panel I needed, and the accumulative error was spread out.

Much to my surprise, after drilling it, everything fit perfectly, first time, with no modifications or tears.  Amazing considering how inaccurately I thought I was drilling everything….

I’m still waiting from element14 for some key parts to ship, but, the front is basically done ( sans power switch ), and the rest of the case can be drilled in another Hackerspace session.

Here are some photos of the results and the anticipated case layout – including the lovely green tape ( which will be removed and replaced by a bright red front panel, which I’ll send to be anodized when it’s fully finished ) 😉

Stay tuned for Part 2 where I hope to finish preparation of all of the holes, then Part 3 where I’ll solder it all together and test it….

I’m Here ( Remix ) – featuring Lee Safar – teaser 1

Hi there!

I know how long Lee Safar and I have kept you waiting, so here it is – the first taste of the evolutionary theory ( that’s me! ) Remix of Lee Safar‘s online hit “I’m Here“…

This is just a tiny glimpse though, so if you want to hear more before the official release on August 31st – like it, comment it and share it. Make some noise and you never know, it might help convince us to reveal a little more….


http://soundcloud.com/evolutionarytheory/evolutionary-theory-im-here


evolutionary theory and Lee Safar

Released by: The House of Jote
Release date: Aug 31, 2011

Lee Safar Album

I am currently in the process of producing a full-length album for Lee Safar.

She released this info publicly only a few days ago:

http://leesafar.blogspot.com/2011/02/major-reveal-about-upcoming-lee-safar.html

Being an Electronica album, expect something a little different.

Up to date details can be found at Lee’s Facebook page:

http://www.facebook.com/leesafarmusic

and at my Facebook artist page:

http://www.facebook.com/pages/evolutionary-theory/110717958952413