Hi there!
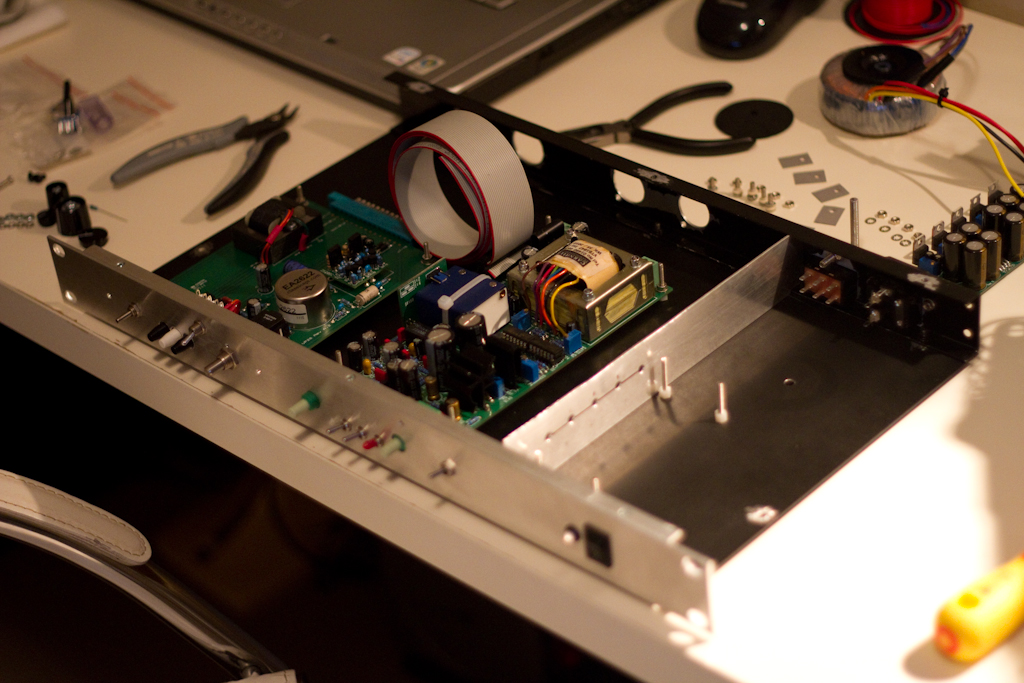
For those following my studio exploits I’ve been 1u racking ClassicAPI VP26 and Sound Skulptor MP73 preamplifiers in a custom drilled and layed-out case. A big thanks to the Robots and Dinosaurs Sydney hackerspace for the use of their equipment.
Two days ago I tested the VP26 ( successfully I might add – it worked first time! 😉 ).
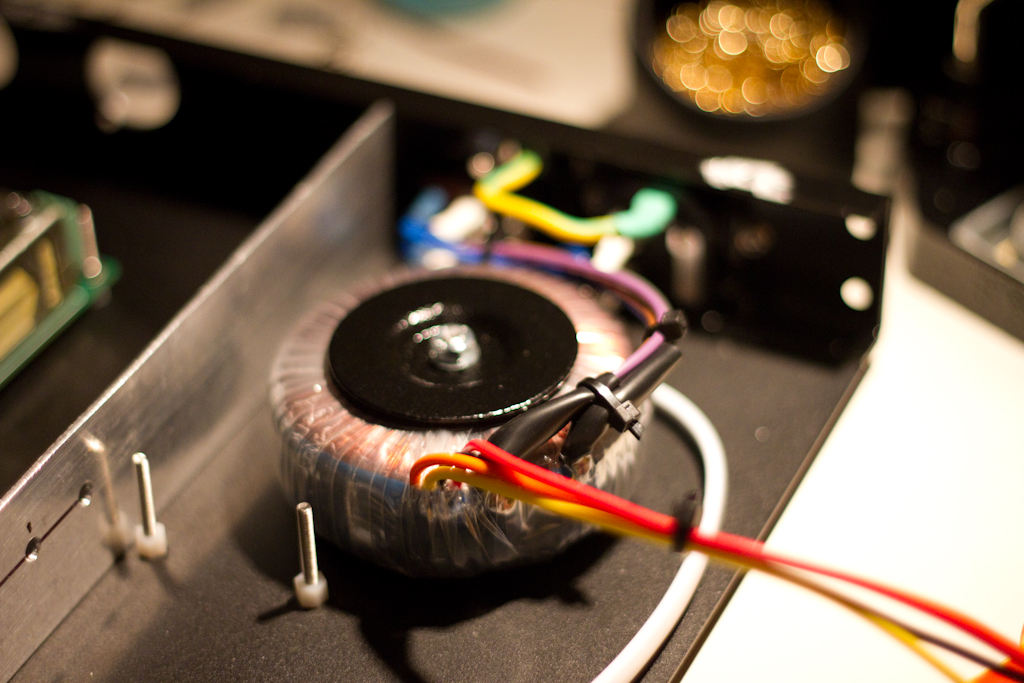
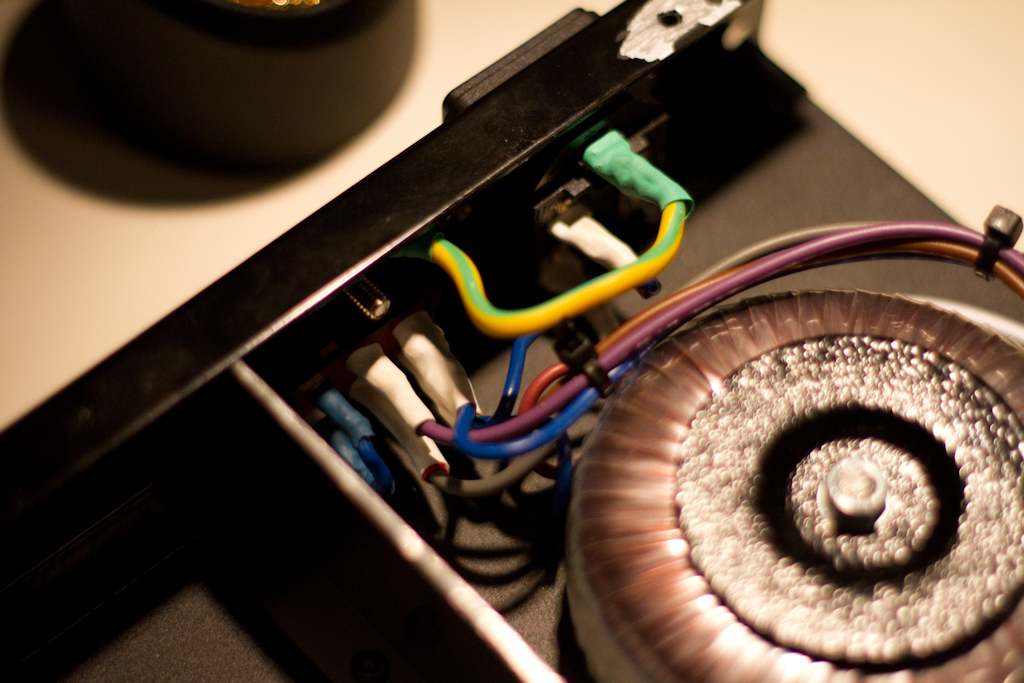
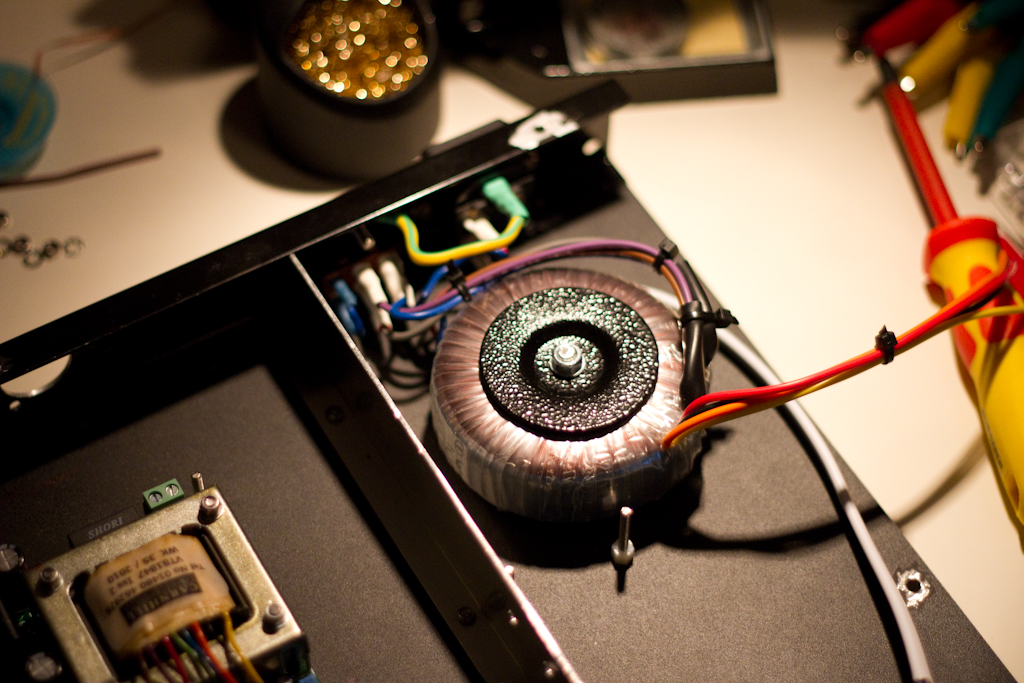
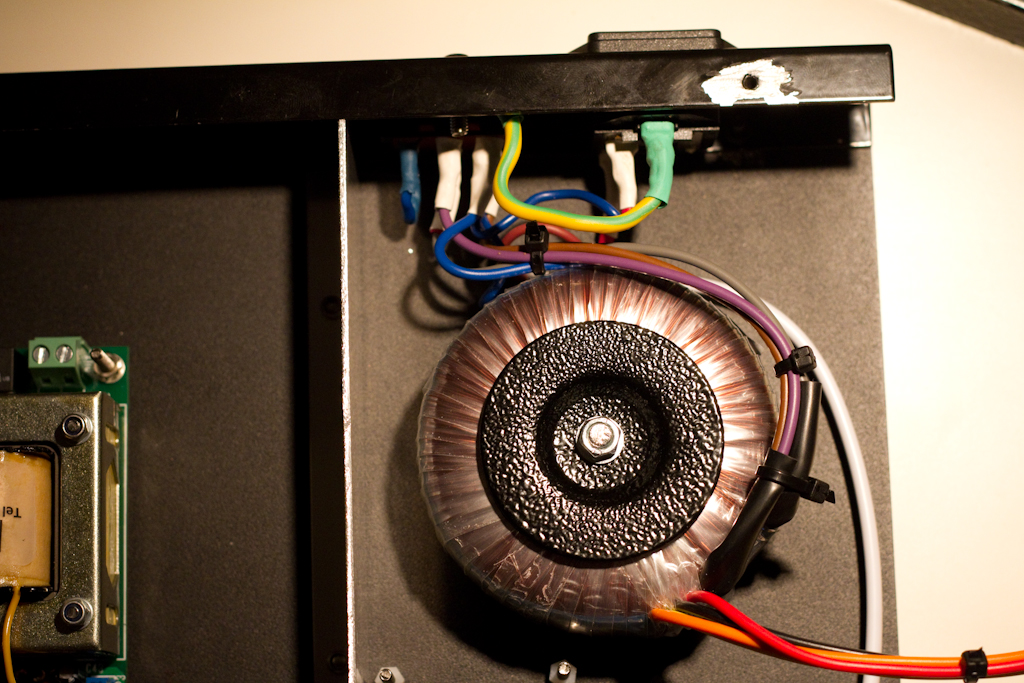
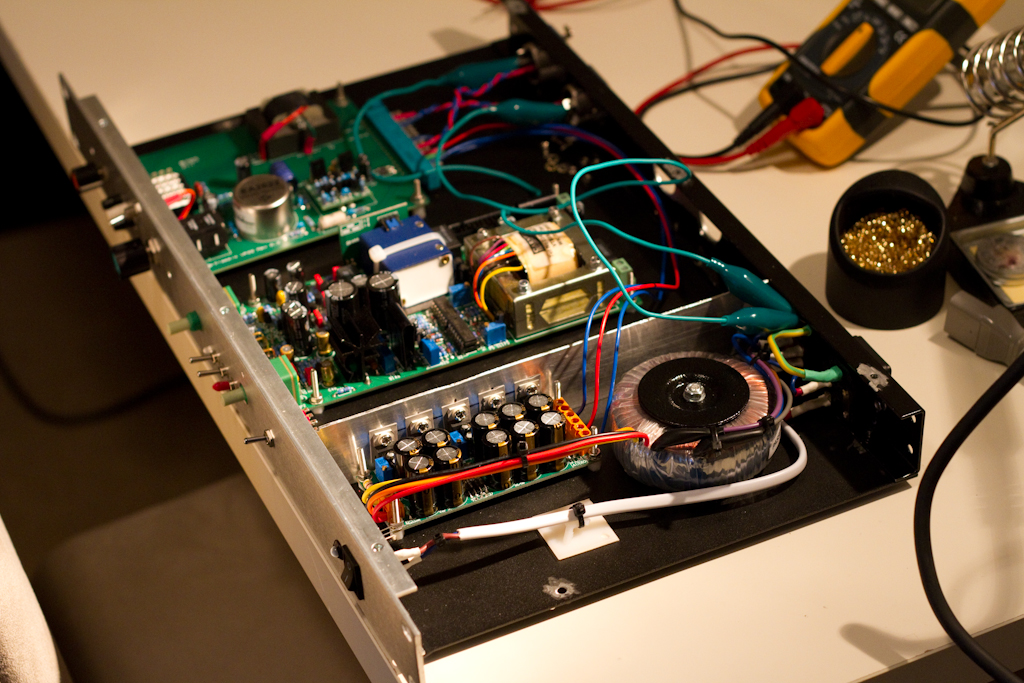
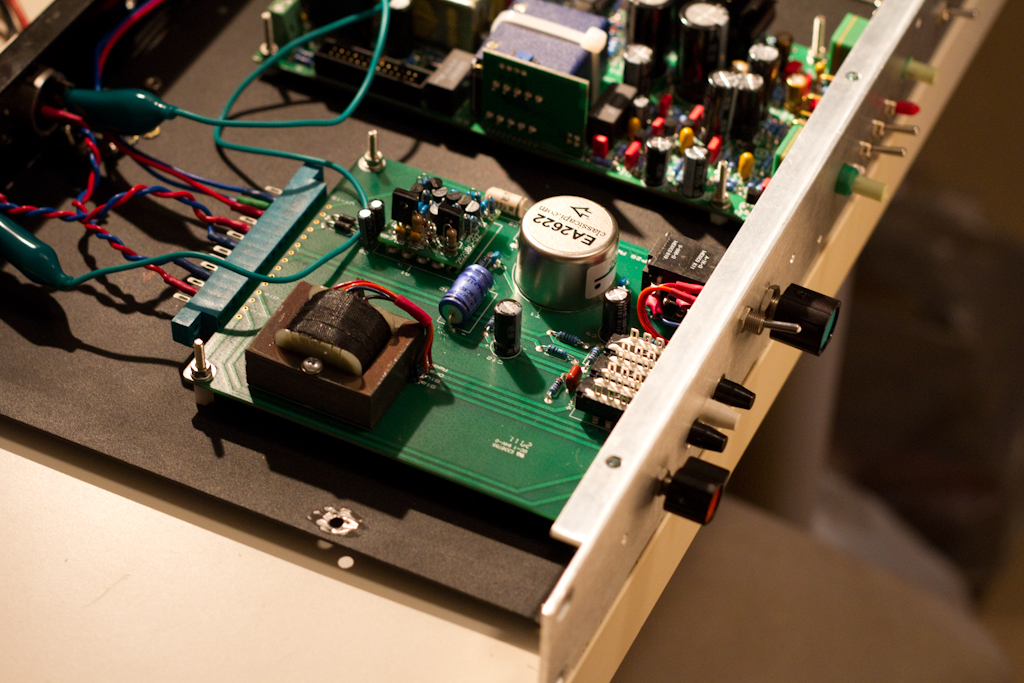
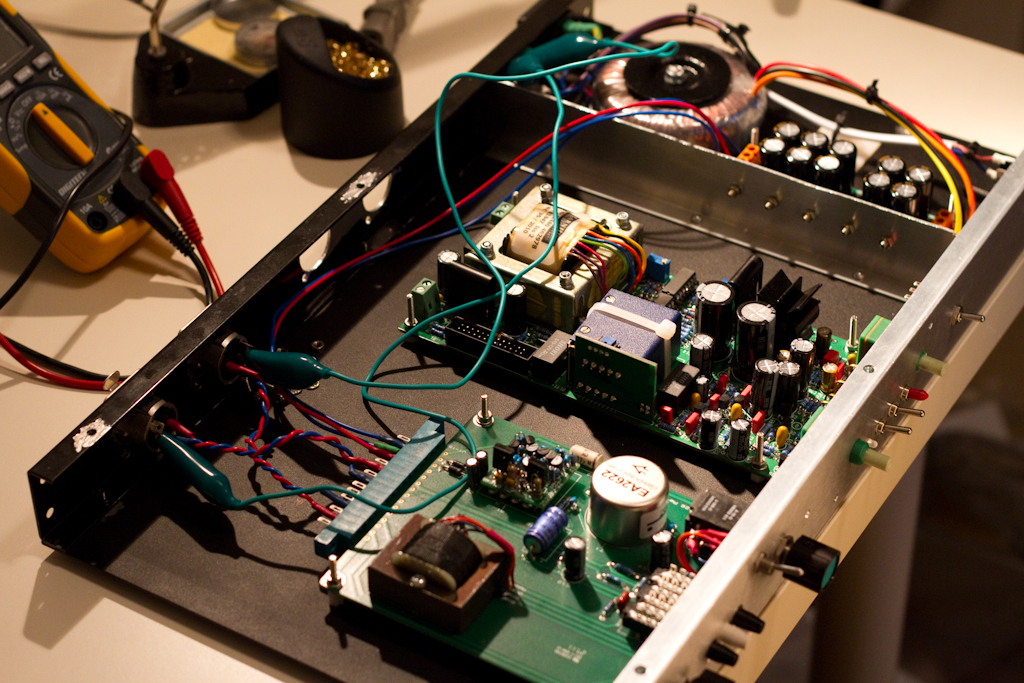
Here are the shots of the resulting installation of the VP26 board into the 1u rack case, and also some of the PSU wiring. You should also be able to make out some “more complex than usual” wiring around the rear panel near the transformer. That’s due to the fact I’ve wired this box to support 240V and 120V inputs, to make it compatible with most countries in the world ( it will be traveling regularly between LA and Sydney for the album I’m currently producing ).
I used a JLM Audio Powerstation power supply to derive the 0V, +16V, -16V, +24V, -24V and +48V rails required to run both of these pres in the same space ( including Phantom Power ).
The VP26 is visible as it was wired for the sound test in the last image. Next up ( hopefully tonight ) will come the MP73 final wiring and testing.
enjoy:

hi there,
i almost want to mimic your build, I can find however no toroidal transformer info.. everything else seems straight forward apart from connecting the pre amp units to their proper places..
Cheers
Hi James,
The toroidal transformer that I used is this one:
http://au.element14.com/jsp/search/productdetail.jsp?SKU=9530398
In terms of how the devices were connected, I could provide a wiring diagram if you would like – I’ll add that to a new post when time permits. It’ll probably be quite useful as the Sound Skulptor MP73 was quite a tricky one to wire up properly.
regards,
Luke
OooOOooh Luke! — I had No-Idea!!
–such a plethora of old-beauties!! I am SO thankful you emailed me back, I had your API 255L thread as my HOMEPAGE for TWO-MONTHS & never.. even.. knew:’)
Thank you SO much for contacting me & keeping me up!
Blessed-wishes & Namaste my friend!!:”) -=thee.