Tag Archives: preamp

Sound Skulptor MP73 – Build

Hi there!

For those who haven’t been following so far, I’ve been building some equipment for a high-quality DIY home studio for an album I’m working on for Lee Safar.

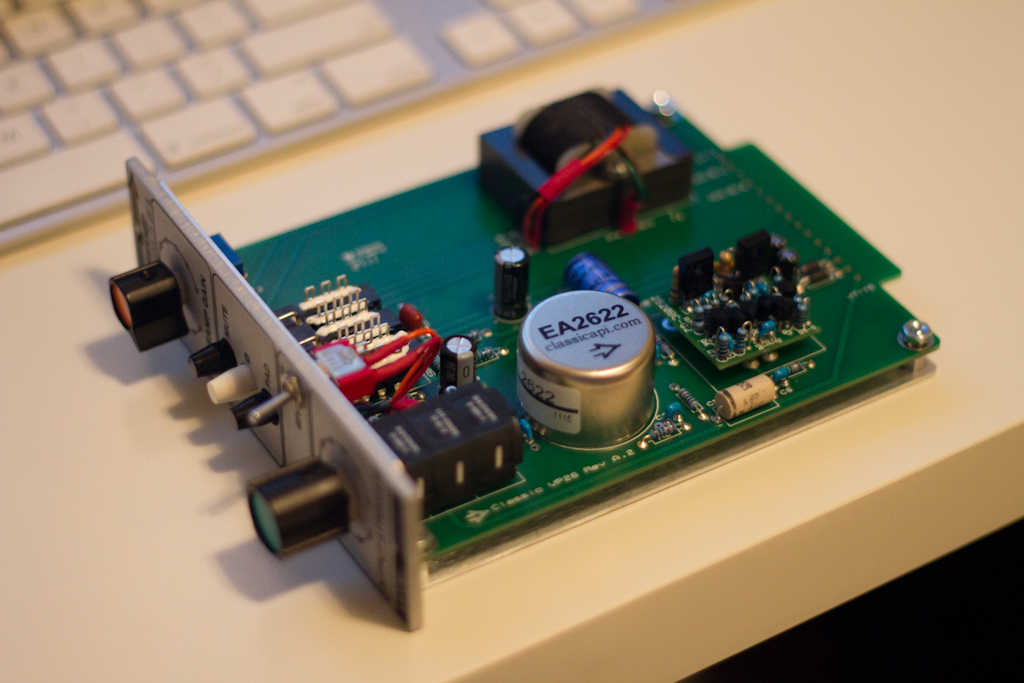
This post is about the second of two microphone preamplifier builds.  The first one ( in an earlier post ) was about the ClassicAPI VP26 ( which has a classic old 70s thick API tone), and this one, is about the Sound Skulptor MP73 ( a Neve 1290-style preamp with a warm gooey character ).

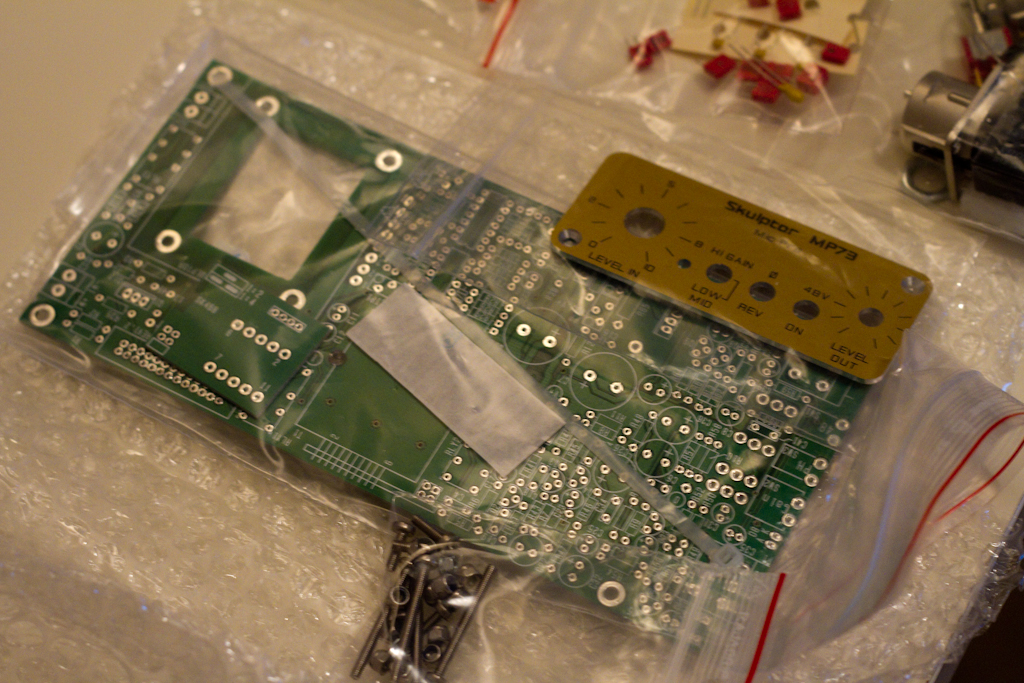
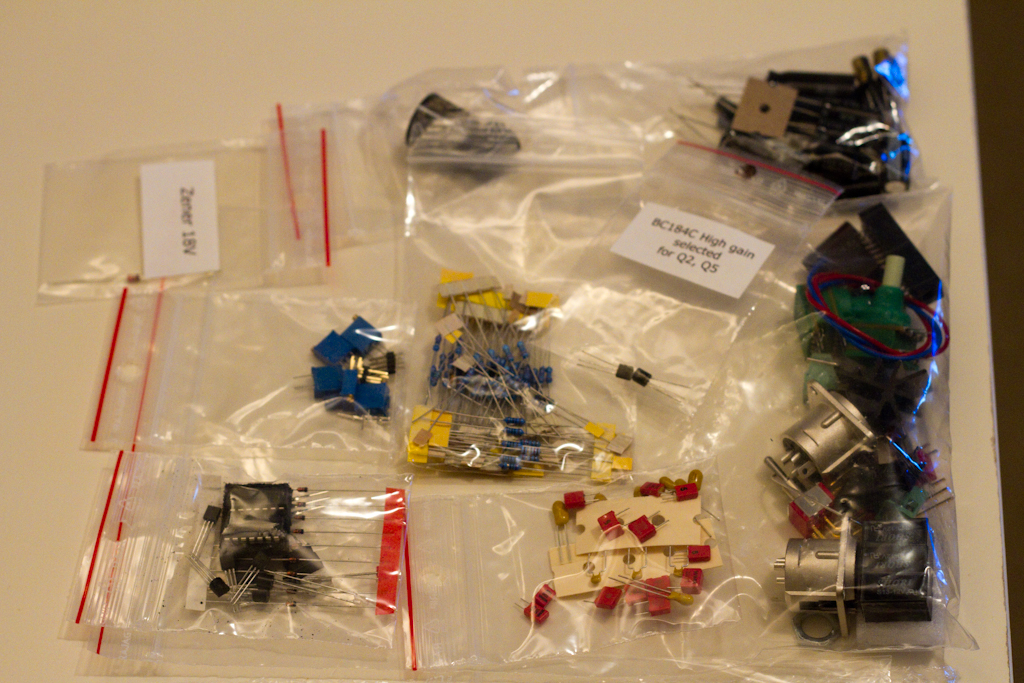
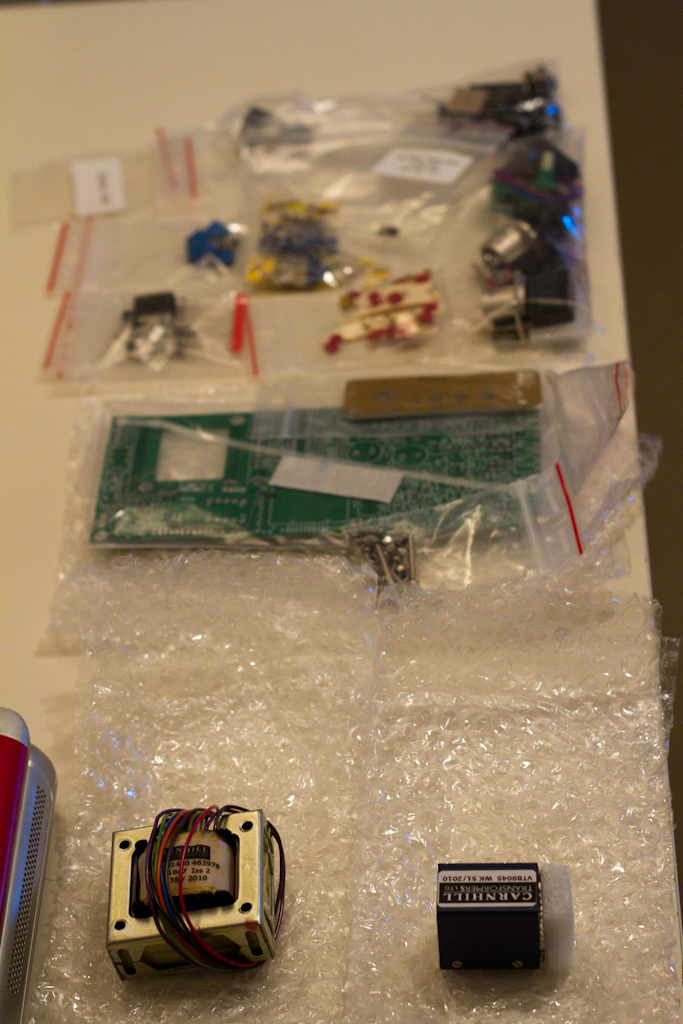
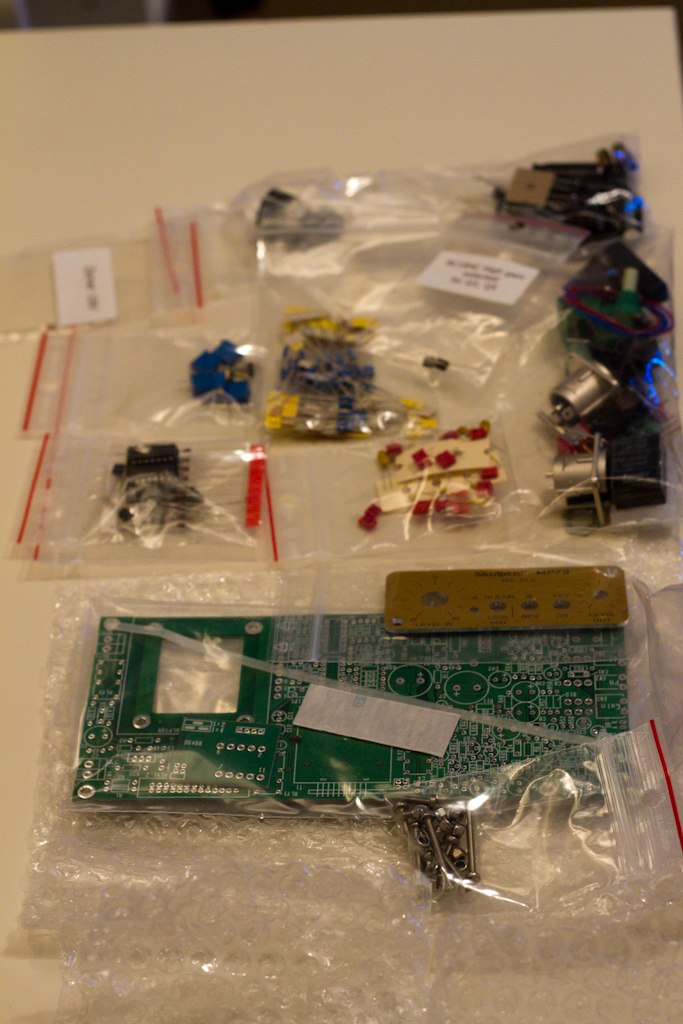
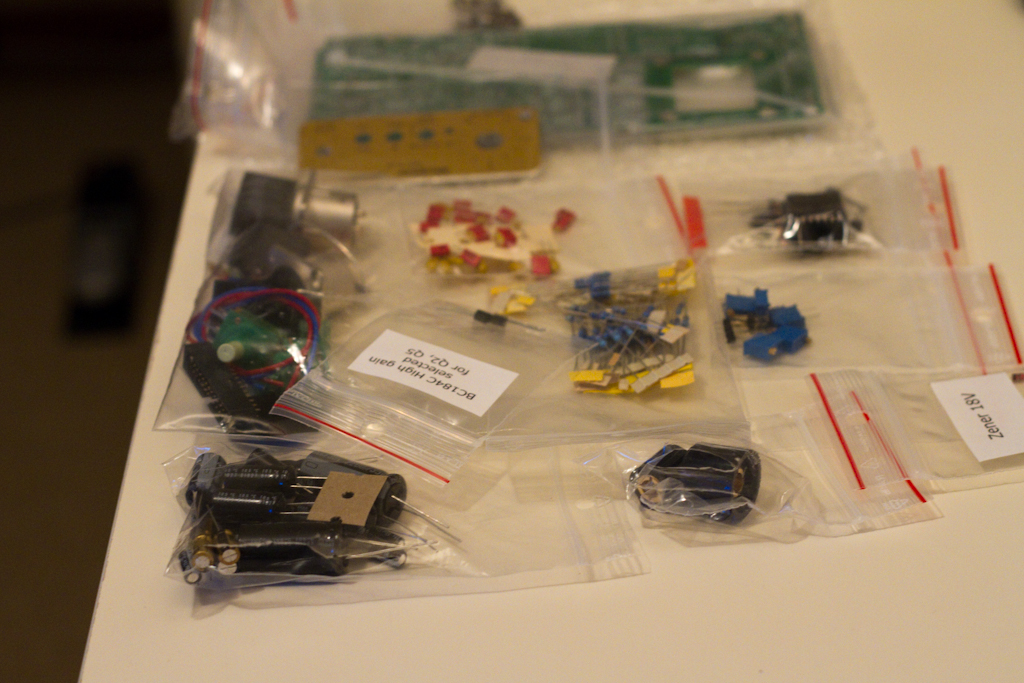
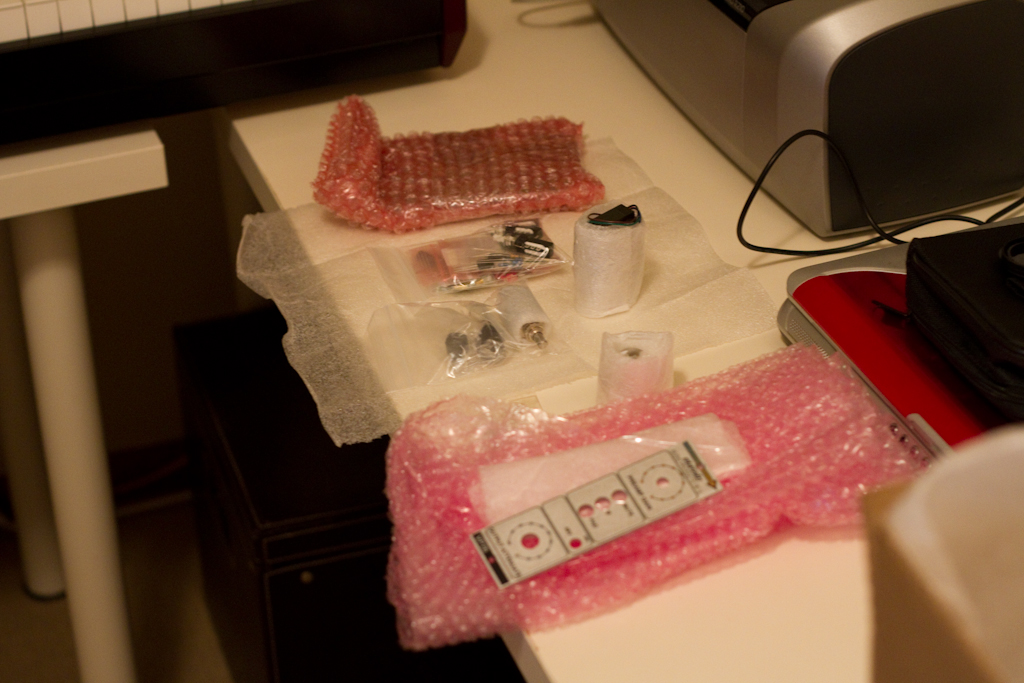
The package arrived from Sound Skulptor, so I proceeded to unwrap it:

Here is the top and bottom of the included PCB:

I started to populate the board with the diodes first, as per the excellent included instructions:

After this point however I deviate a little from the provided instructions cause I felt I had a better construction order, however, next came the resistors:

Next came the ceramic caps:

Then the film capacitors:

Then the tantalum capacitors:

Then some transistors:

Then the trimmers:

The header:

The relays:

The small electrolytic capacitors:

The terminal block connectors:

Then the main front panel switches:

Next came the potentiometers:

Then the heatsink clips were applied to the power transistor and voltage regulators:

The large electrolytic caps went in next:

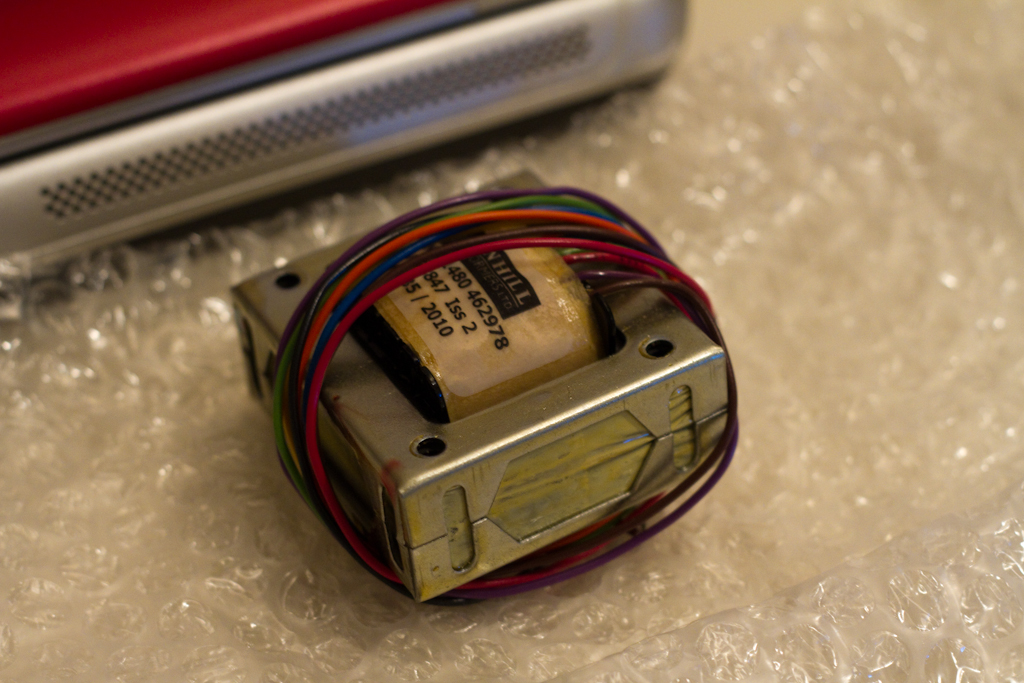
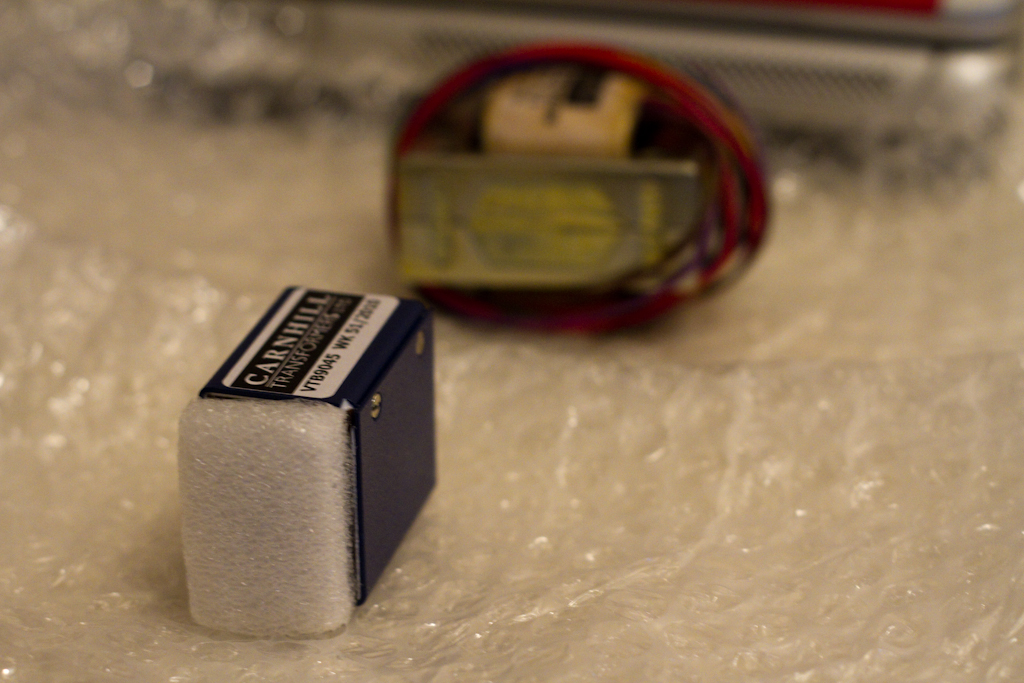
The Carnhill input transformer went in next with some tricky manouvres to seat it into position:

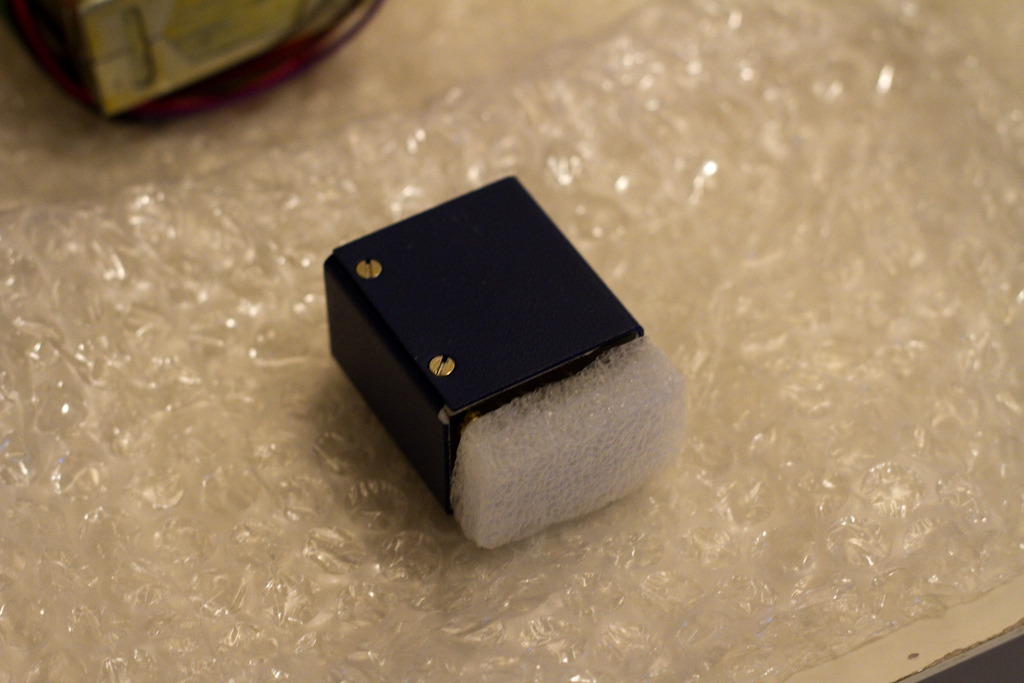
Now the Carnhill output transformer goes in:

So then I trimmed and soldered the output transformer leads, and whacked in some IC sockets ( even though the instructions didn’t mention them, I put them in cause I have a bad track record with destroying static sensitive chips…. ):

I used the front panel, held on by the other components, to help me correctly line up the LED before soldering it, and I’m glad I did, cause now it lines up PERFECTLY.  A slight deviation from the original instructions, but easy, and accurate:

And that was it, finished!  Now I just have to do some careful cleaning of the underside of the board to remove the flux I used on the ground-plane connections ( they had to be HOT to solder properly due to the thermal dissipation…. ), but here are the shots of the final construction:

Now all that is remaining is building a power supply, casing this MP73 preamp with the VP26 one in a 1u rack case, and then, some testing.

But so far it’s looking good – not long to go now!

Catch you all soon!

manoeuvres

ClassicAPI VP26 – Build

As I’ve mentioned previously on this website, I’ve been organizing a minimal home recording studio for Lee Safar for the album I am currently producing for her.  In order to save money and also get the best possible sound we can, I’ve decided to DIY a lot of the recording equipment.

Jeff Steiger, owner of the ClassicAPI company was amazingly friendly with all of the questions I had for him when deciding to purchase this kit.  After putting in the order, about a week later, the box arrived:

Everything was beautifully packed, and the initial reaction was “wow, this is one seriously professional piece of kit….”.

Here you can see the silk-screened front panel ( which was shipped in the wrapping it’s sitting on ):

Here is a glimpse of the input transformer, output attenuator and input gain control and associated mounting hardware:

These are the main front panel switches for Mute, Phase reverse and Pad:

Here is the wrapping for the main mounting frame:

The gorgeous input transformer:

A close up of the switches including the 48V Phantom power switch:

Here is the top and bottom of the PCB that comes with the kit:

Here is the whole lot on the table:

The first thing I did was set up the workspace ( yes, I am using a Country Road magazine as a work mat – that’s how I roll – I’m not quite as well setup as when I was working at talsit‘s house! ):

Then I put in the resistors:

Followed by the diodes:

Then the latching push switches:

Then the blue Murata ceramic capacitors:

Then the large capacitors, radial and standard electrolytic went in.  The Mill-Max sockets also went in at this stage.  You’ll notice the botch job of the large 470uF capacitor with it’s horrible soldering.  A note to those building this kit – use flux!  I didn’t and it made soldering to the ground pads exceptionally difficult due to the massive thermal inertia of the exceptionally thick PCB.  I bought some flux the next day and used it to fix up that area ( which you will see in later photos ):

The input transformer went in next:

Then the output transformer ( also note the cleaner solder joint on the large axial 470uF capacitor that I cleaned up by application of flux and re-soldering ):

You can see the output attenuator now after being added:

Next the 48V Phantom power switch went in, and I started to assemble everything into the main frame, along with the front panel:

Next the knobs went on to the potentiometers:

And that was the end of the basic ClassicAPI VP26 build.  A preamp isn’t much without an amplifier now is it?  So the next part was building the gar2520 Discrete Operational Amplifier (DOA) – which performs the actual amplification task.  It’s a compatible physical layout to the original API 2520 units ( which can also be used in this kit as DOA’s ).

The first part of the gar2520 build is the pins for insertion into the Mill-Max sockets of the main VP26 board:

Next go in some resistors and capacitors:

Then the diodes:

Next are the main transistors:

Now we add some more resistors and capacitors:

And more:

And more:

And more:

And more:

And more:

And then, finally, the last parts go in to finish off the gar2520 DOA:

Now the DOA can be inserted into the main board:

And now it’s time for some modelling shots of the finished ( but untested ) product….

And now for some close-ups:

And there you have it.  Next up, the Neve-style Sound Skulptor MP73 build.  Stay-tuned for that, and the testing of this pre.

Sound Skulptor MP73 Preamp – Kit Arrived

As a part of working with Lee Safar on her up and coming album, I’m also helping her build a studio in her home, so that as and when ideas come to her, she can record them, completely professionally, right then and there.

In order to aid this I’ve suggested she use a Shure SM7b microphone and an Apogee Duet 2 sound card.  One of the missing parts of that chain however, is a big, classic, beefy sounding preamp.  The two types of tone I wanted to give her in particular are the smooth sound of a Neve 1073 and the forward mid-biting rock sound of an API 70’s pre.  I wanted both types of sound extremes to be recorded simultaneously each time she records, so that I’m able to blend them how I want during the production stage.

In order to give her these two sounds within a small budget, I decided to build them myself from kits.  The two kits I decided upon were the Sound Skulptor MP73 and the ClassicAPI VP26 with a gar2520 discrete opamp.

Today the MP73 arrived.  It was beautifully packaged, and didn’t take very long at all to ship to Australia.  I’m very impressed with every facet of the kit, from how thorough it is ( ALL nuts and bolts, the front faceplate and even the pot knobs are provided…. ) and I can’t WAIT to start building it.  You can see in these photos the large heavy iron transformers, which impart the warm sound of this pre:


When finished, it should look a little something like this: